|
|
...Please Wait, Loading Pictures...
The Playset Project
(March 17 - 25, 2007)
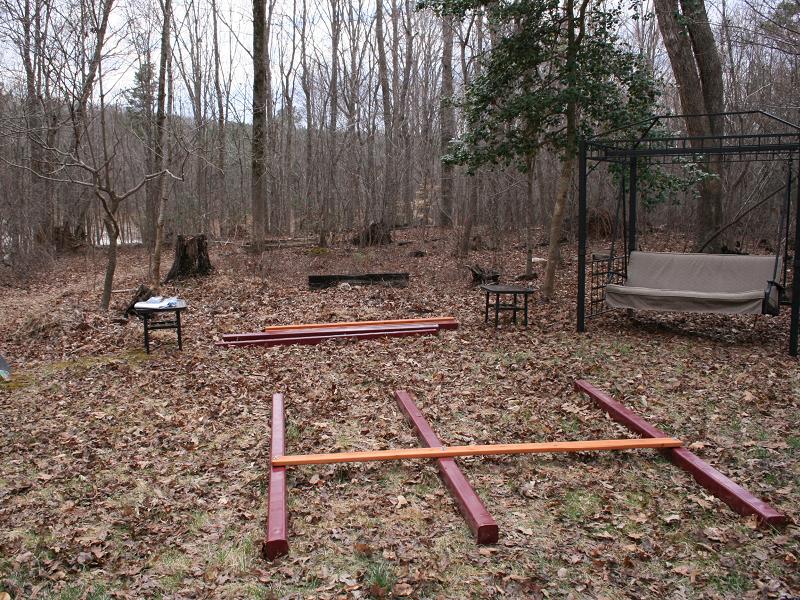
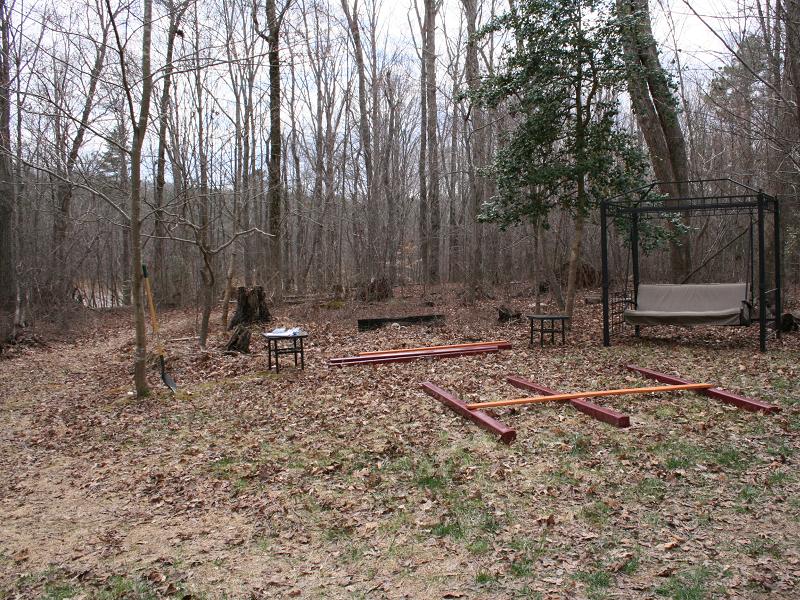
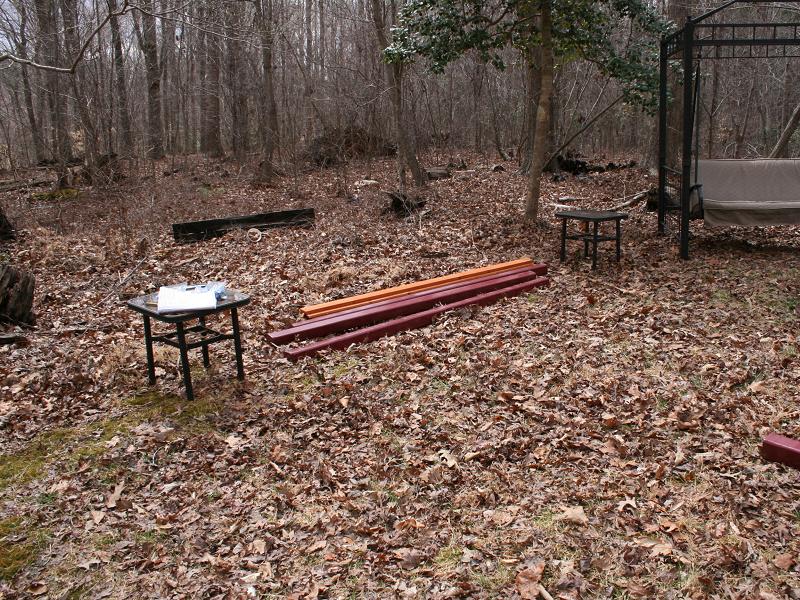
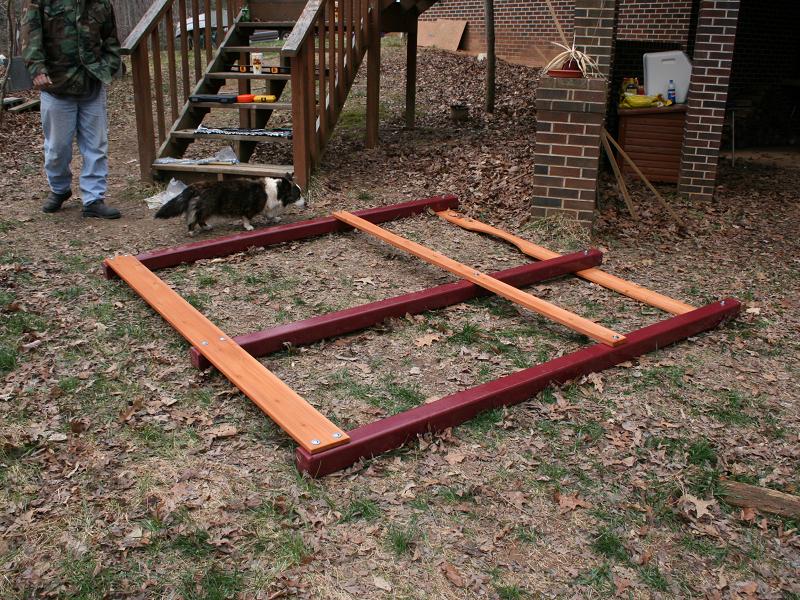
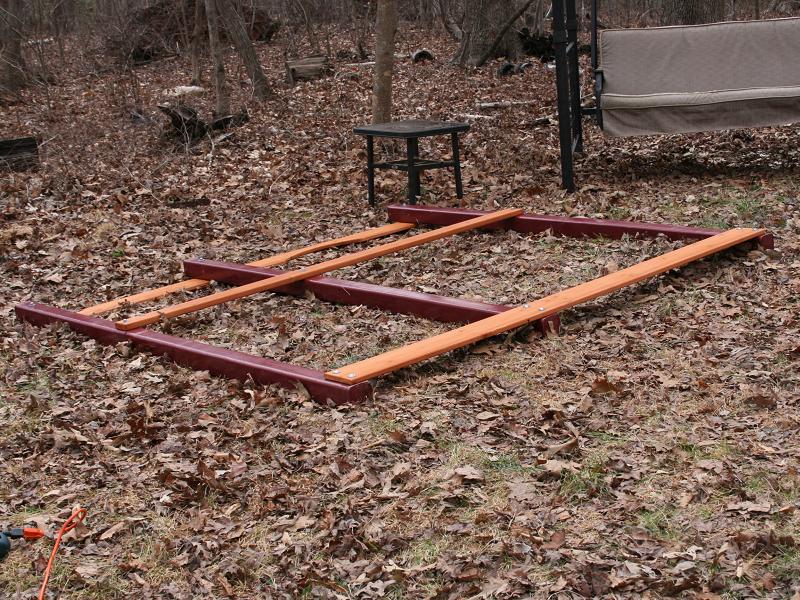
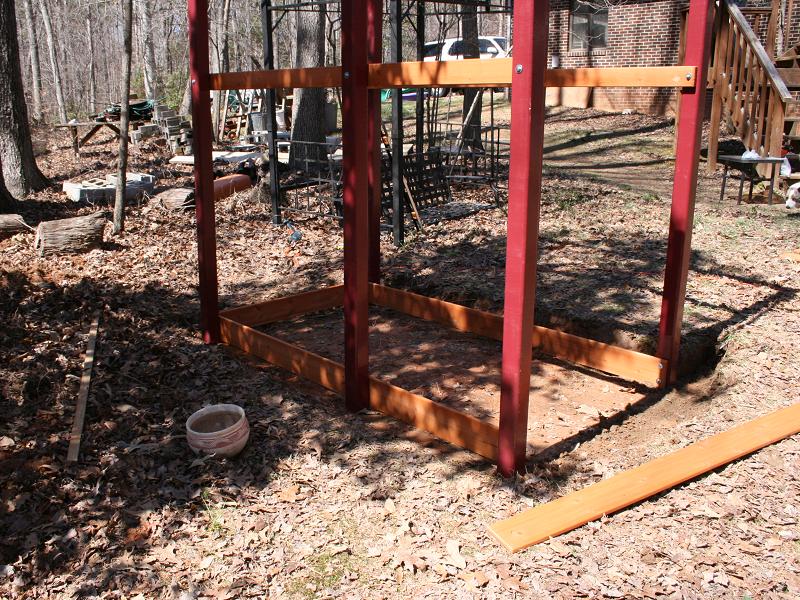
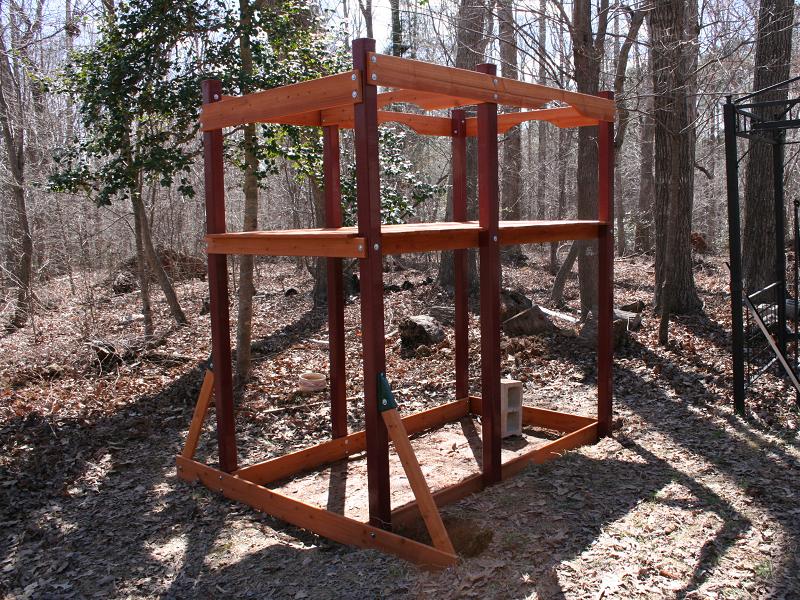
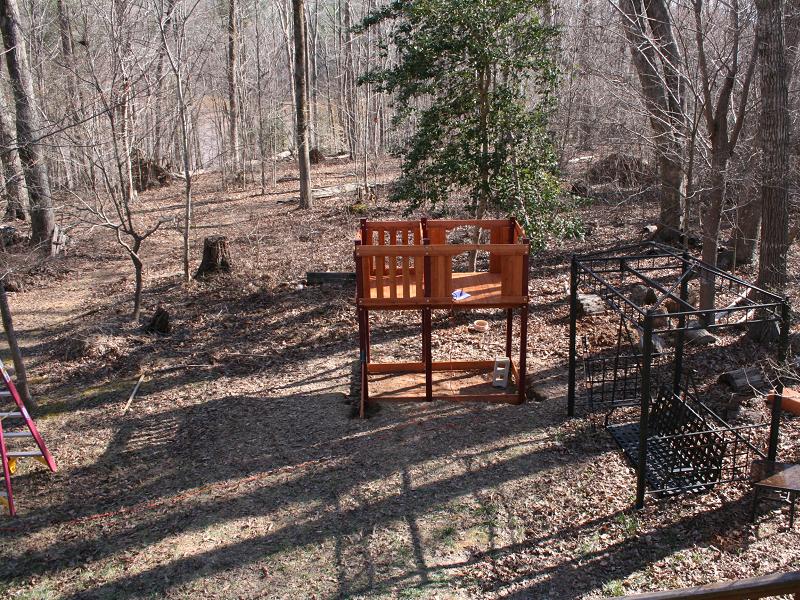
The plan was to go to BJ's and purchase the playset on Friday (March 16th) so we could get an early start putting it together on Saturday. However, it rained all day Friday and we could not pick it up until Saturday morning. So we didn't actually get started on building it until about noon on Saturday, March 17th. Then we ran into the problem that it was so COLD and windy and cloudy (did I mention cold?) that I couldn't even think. Not a very comfortable situation, so we decided to postpone til the next day. We did get "Phase 1" done, which mainly consisted of getting the front and the back wall structures put together.
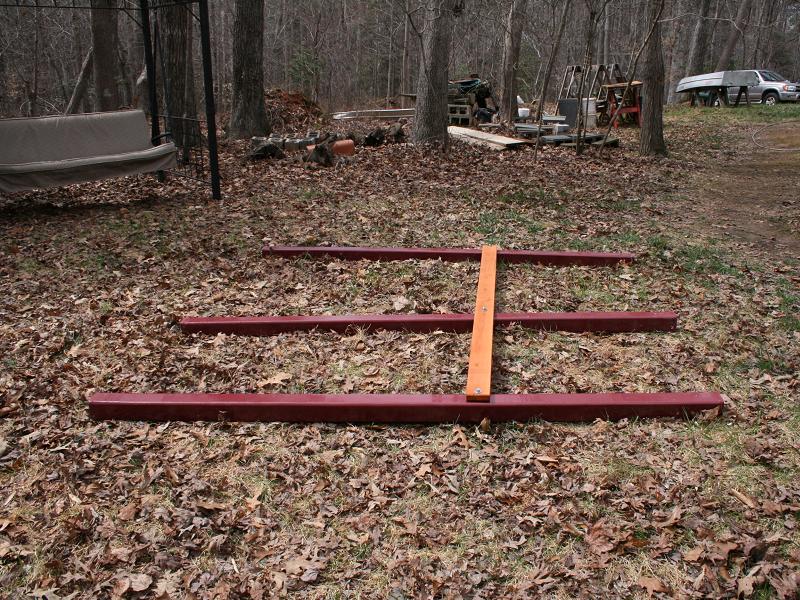
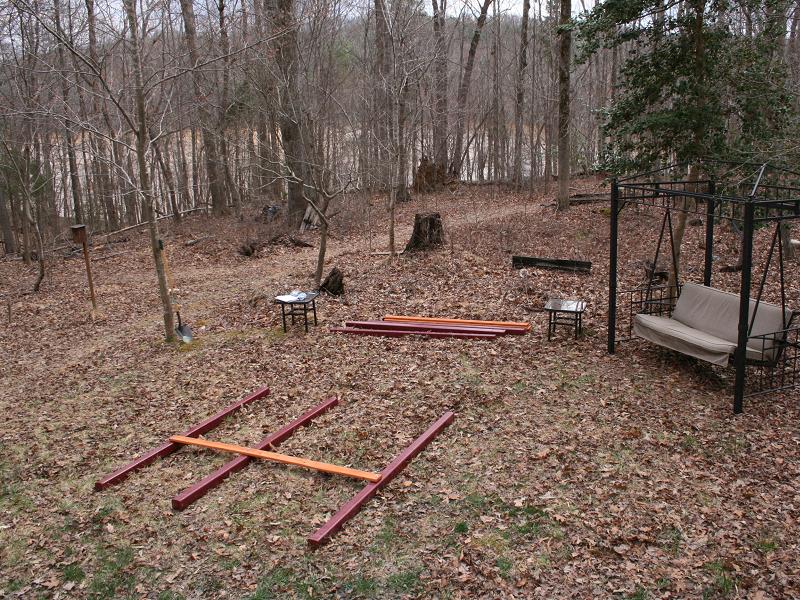
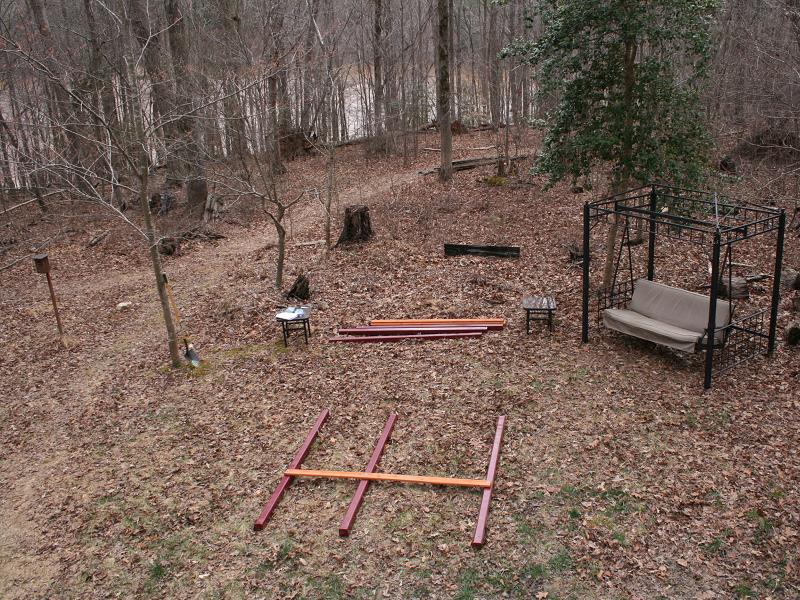
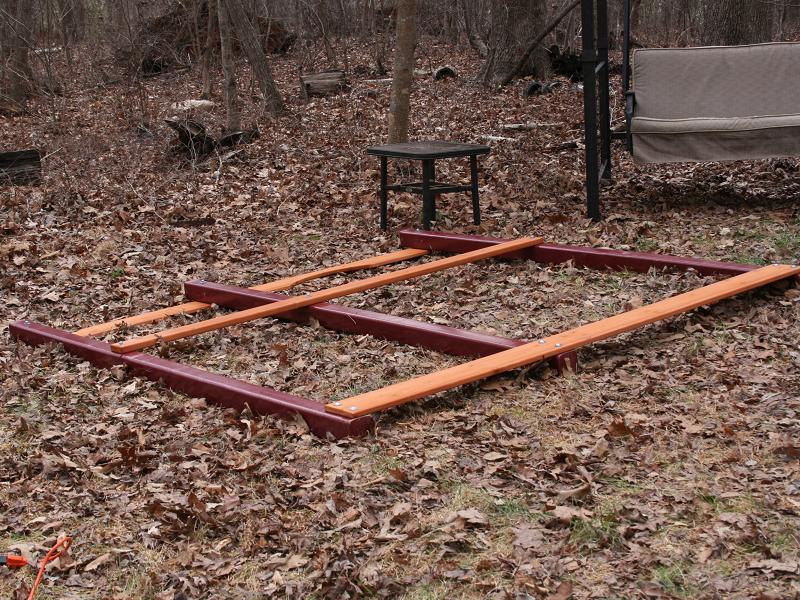
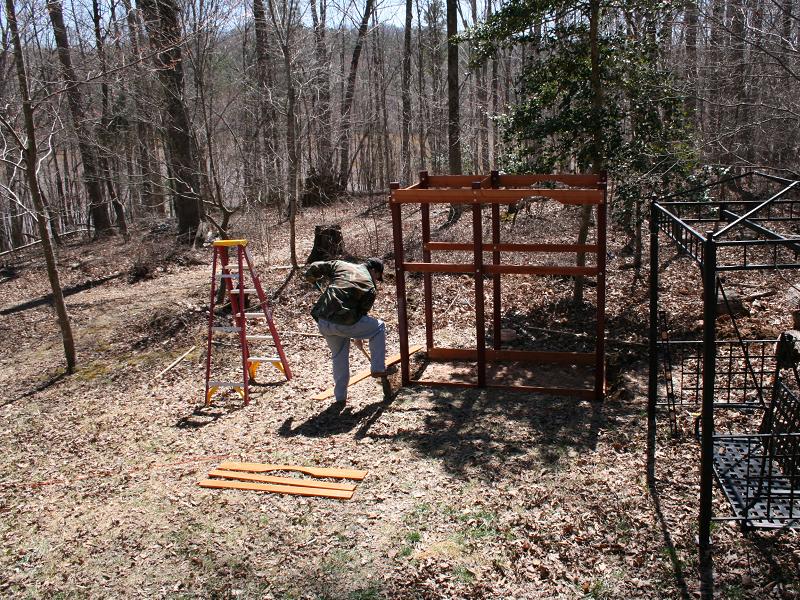
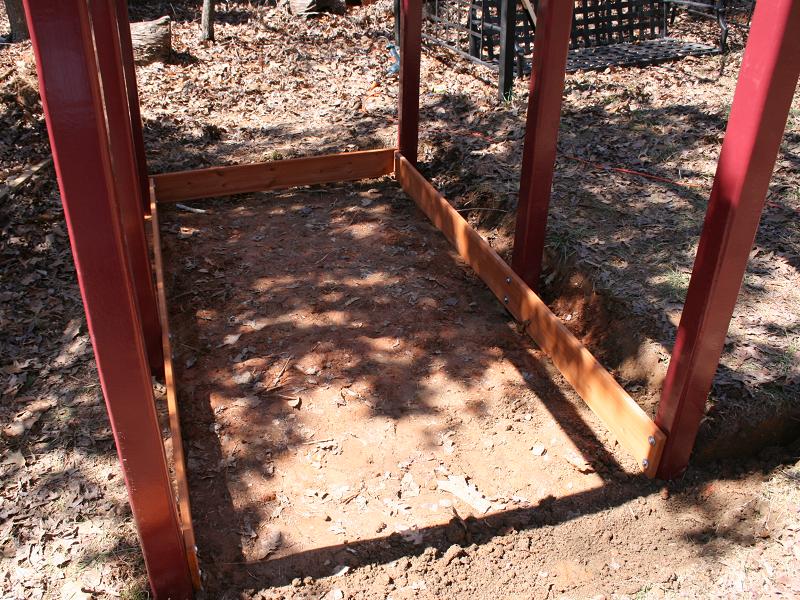
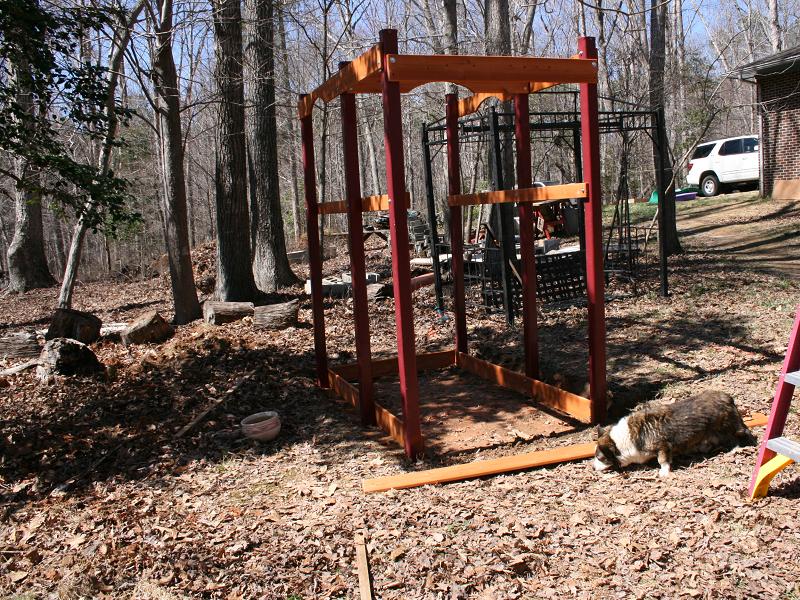
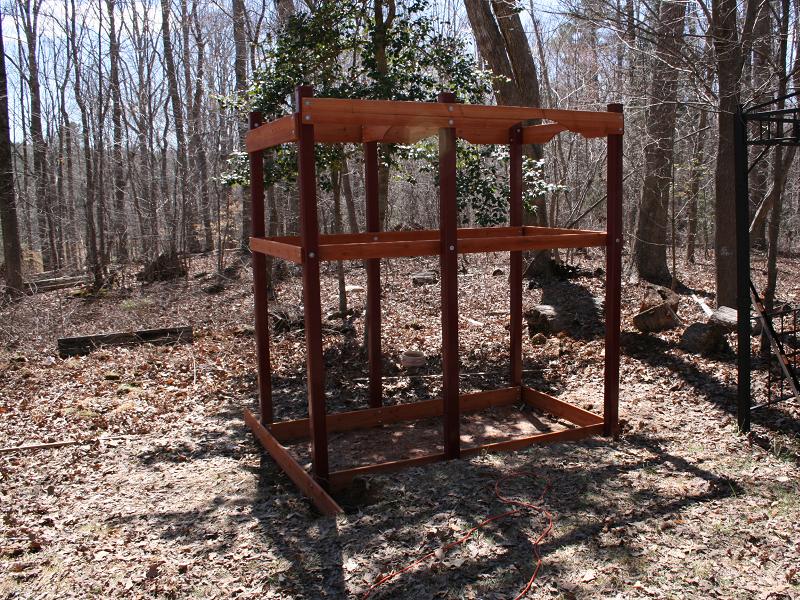
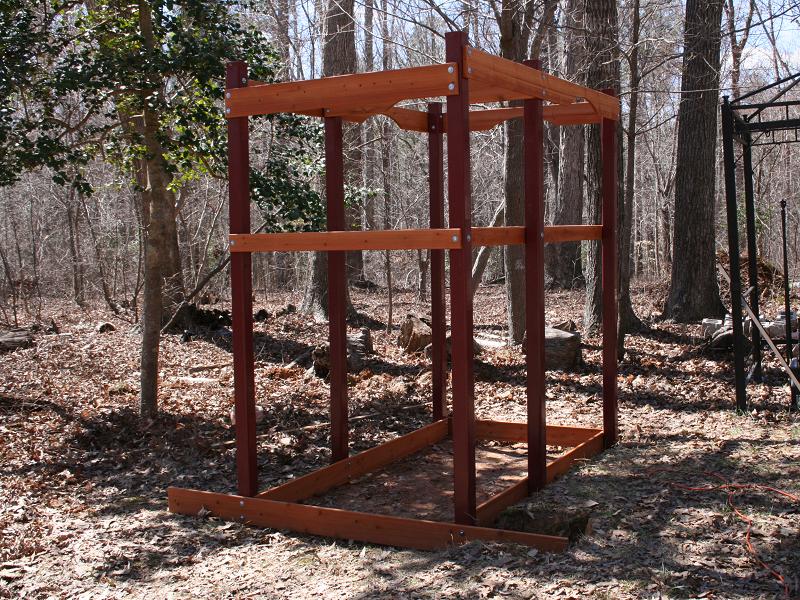
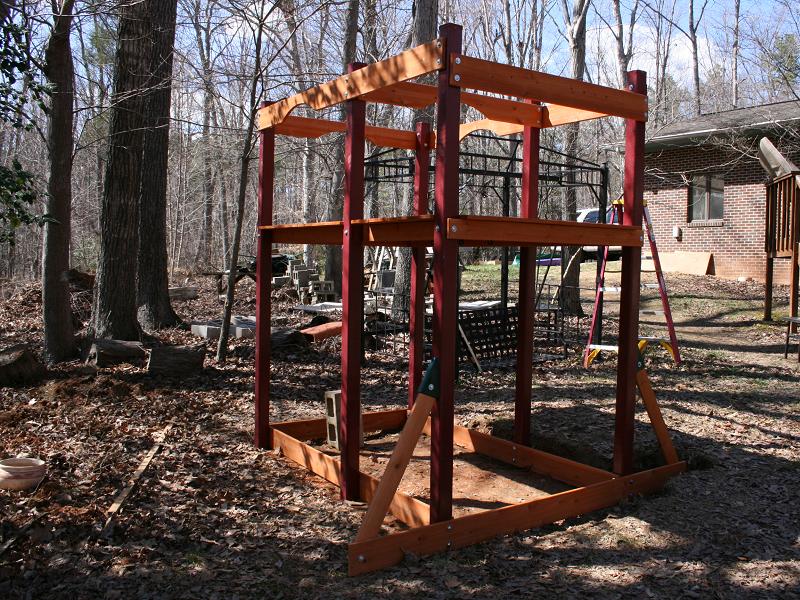
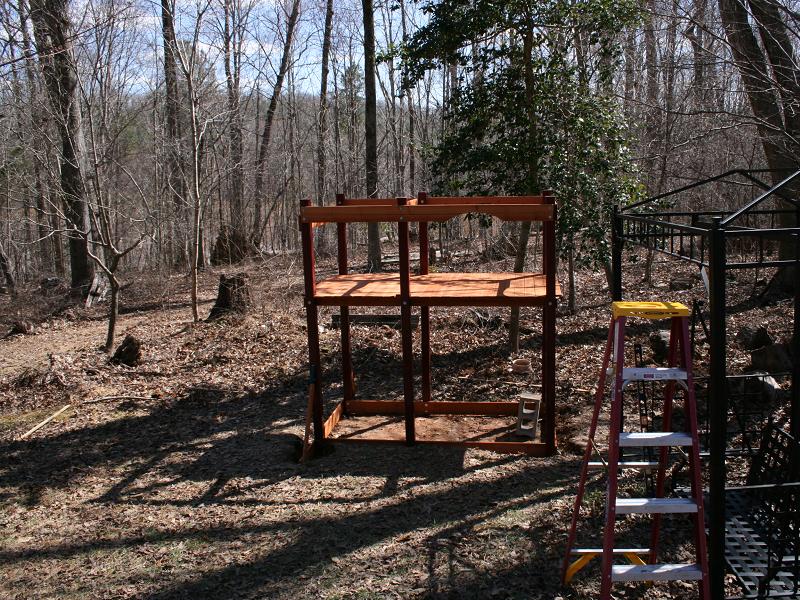
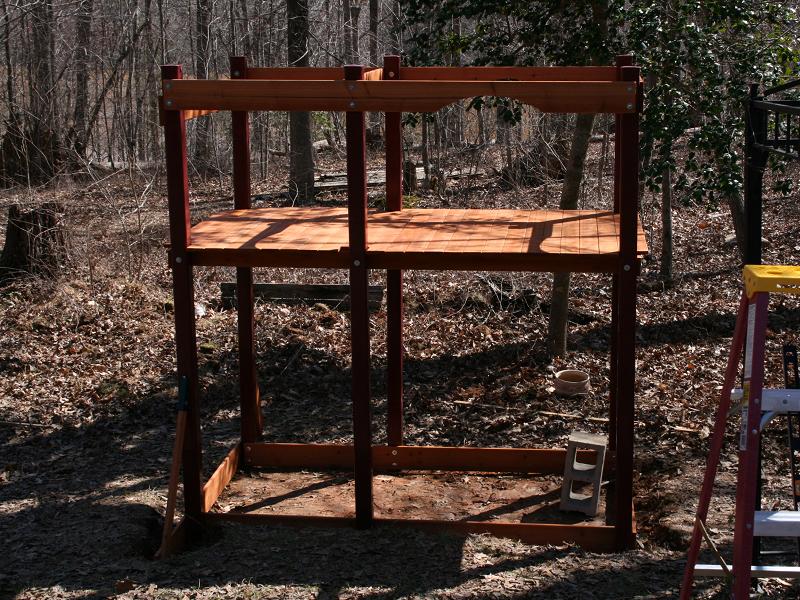
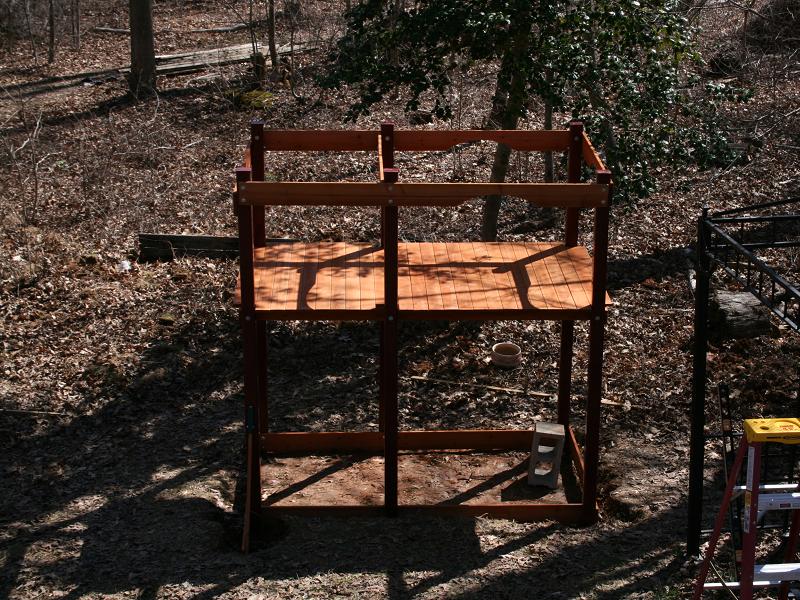
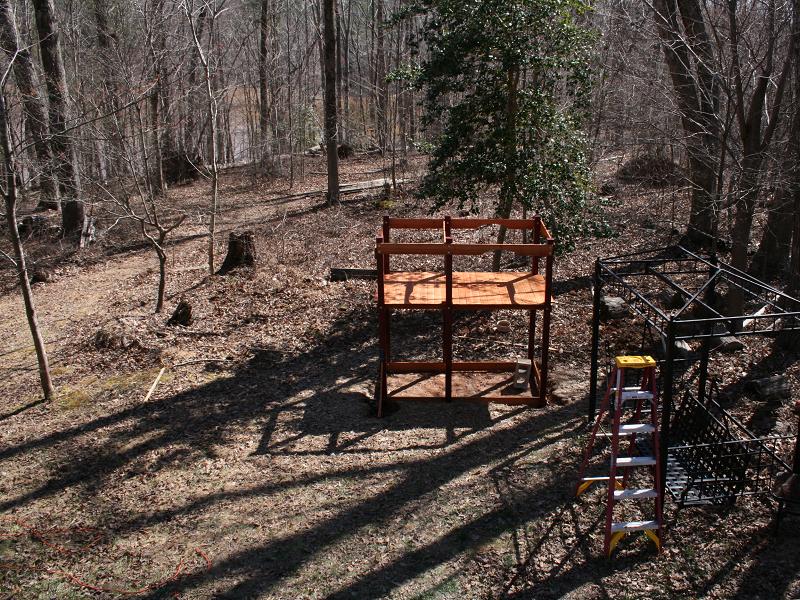
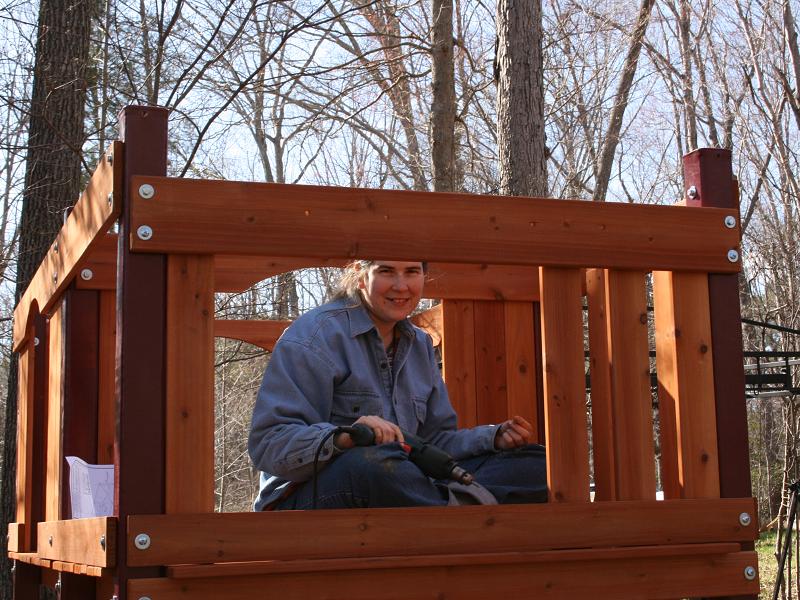
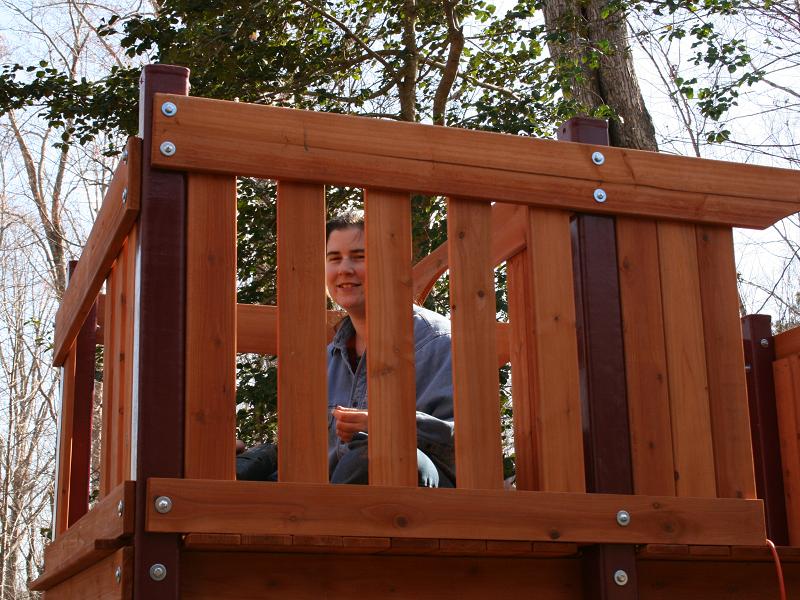
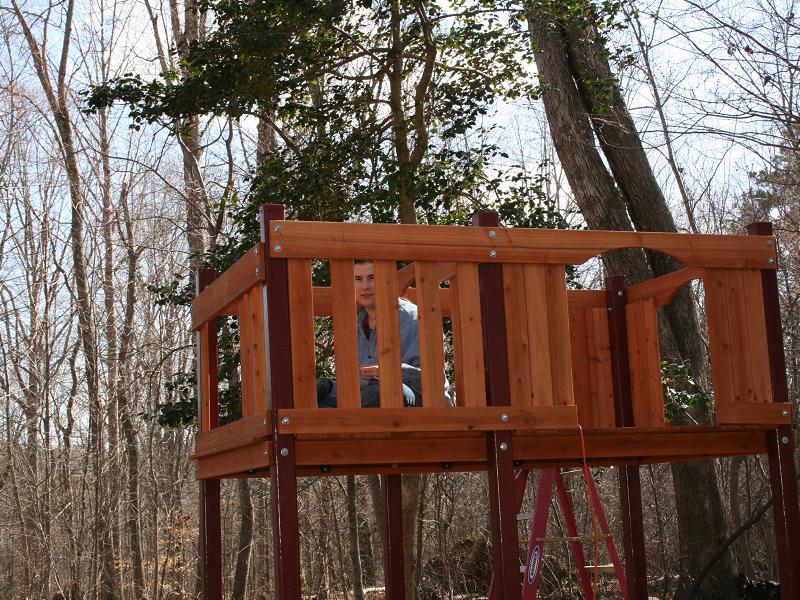
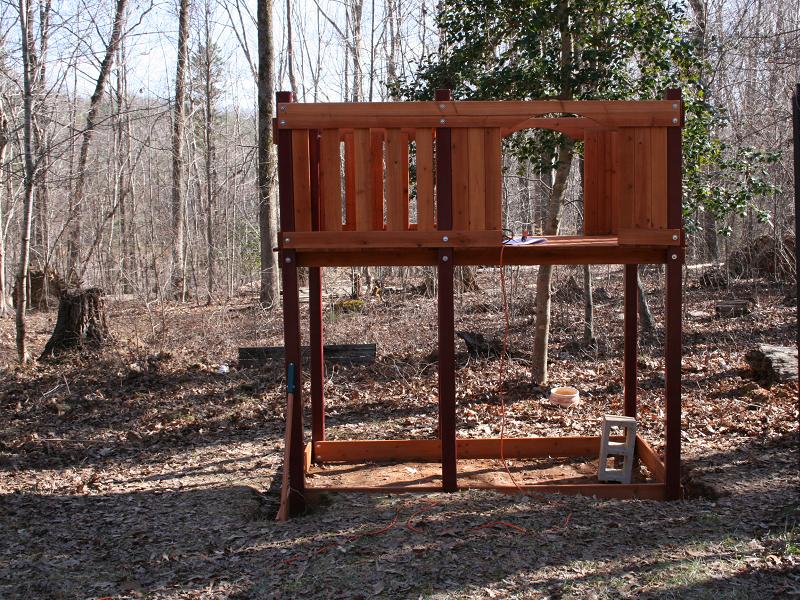
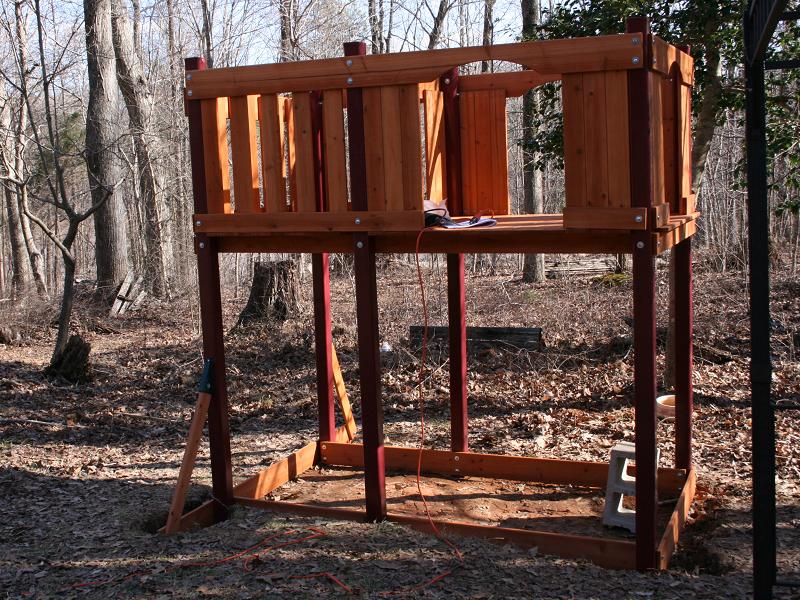
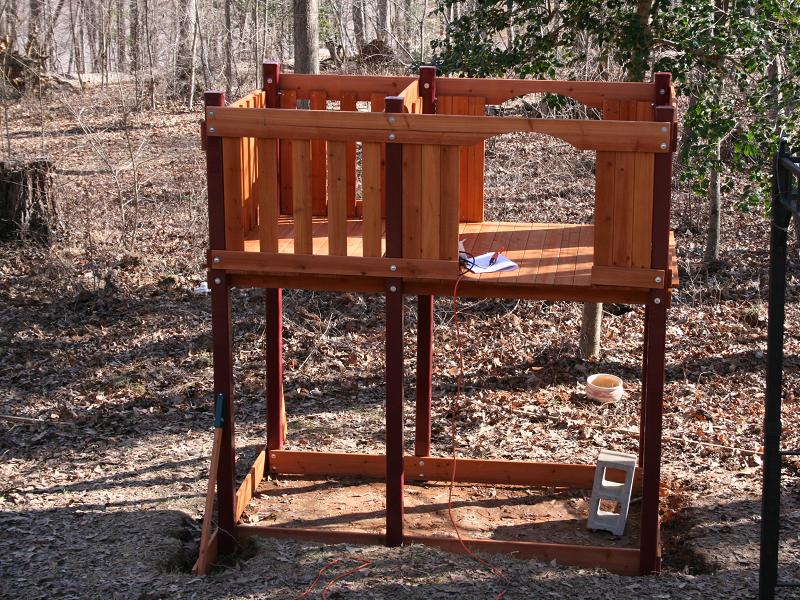
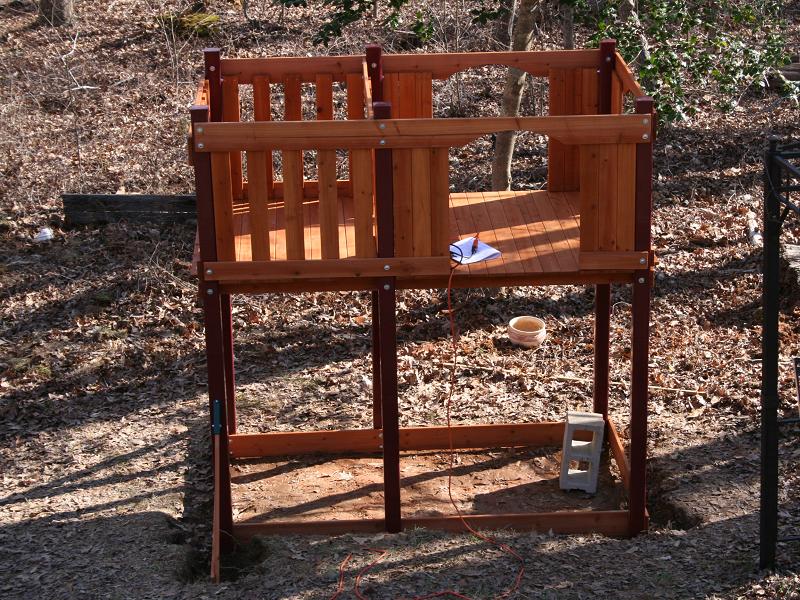
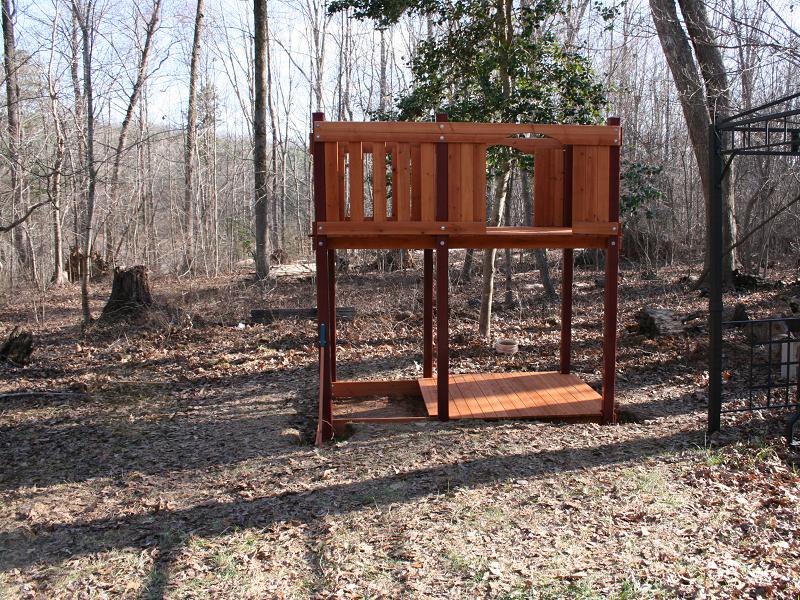
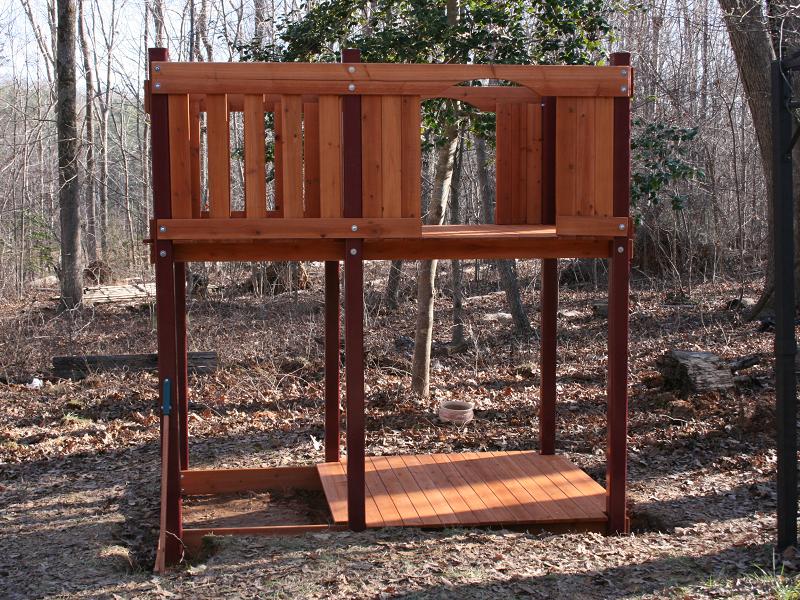
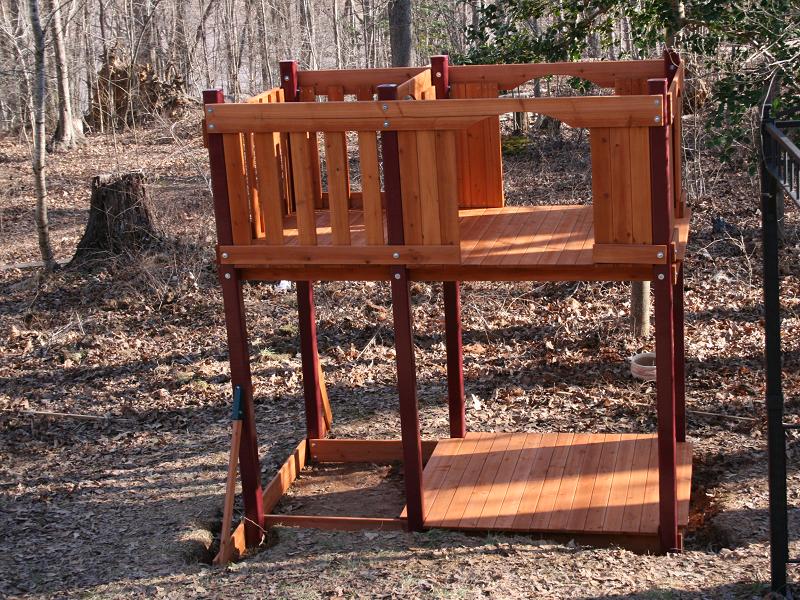
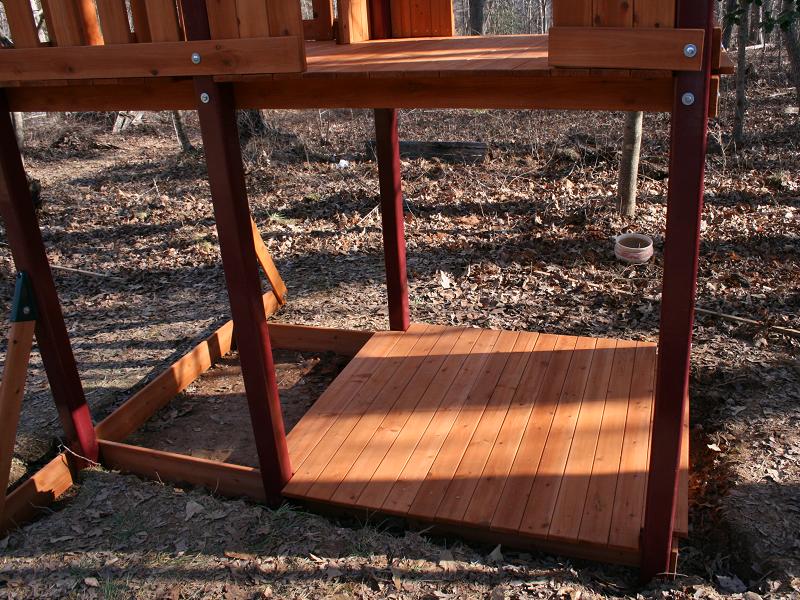
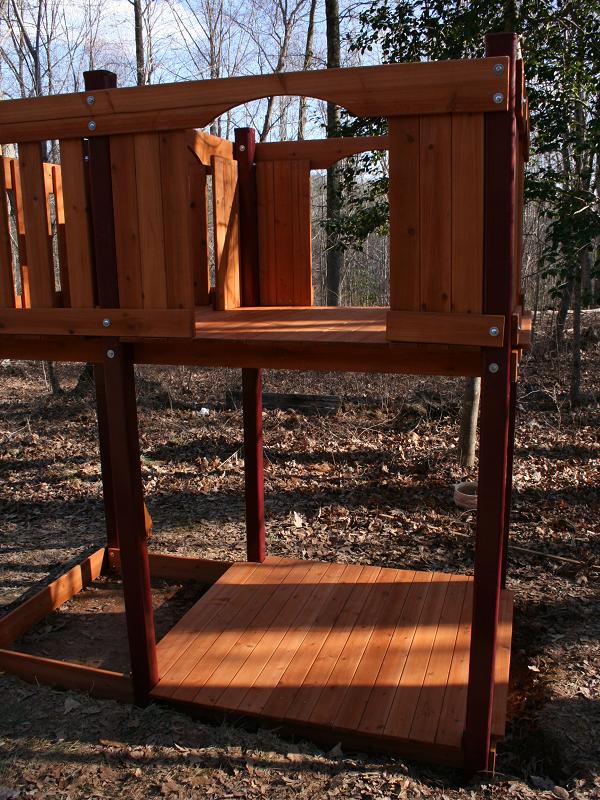
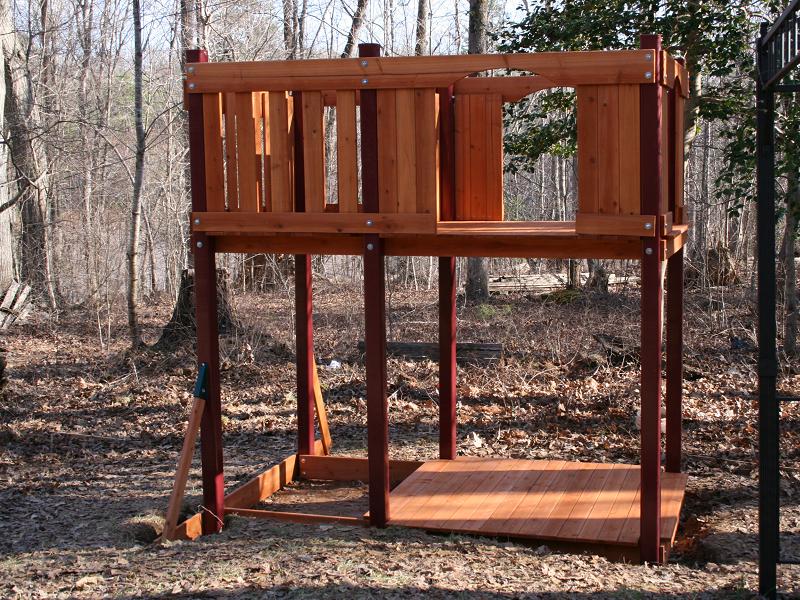
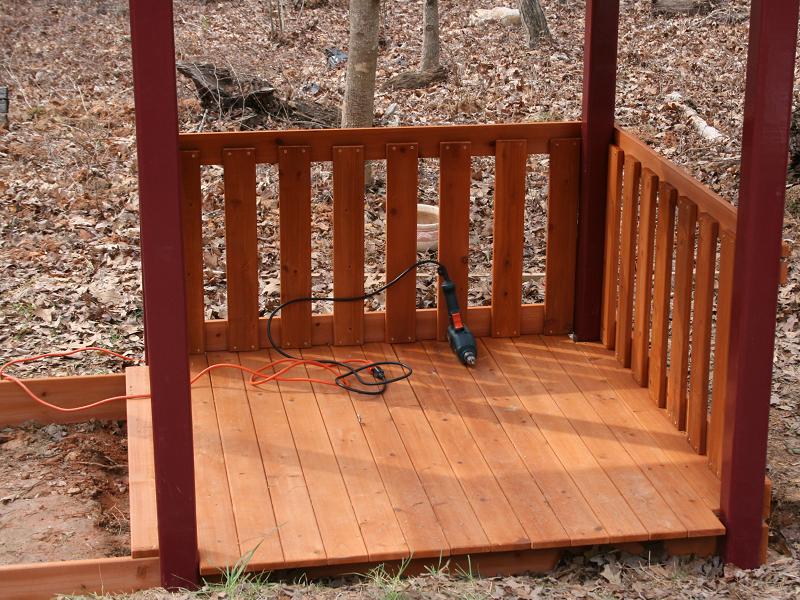
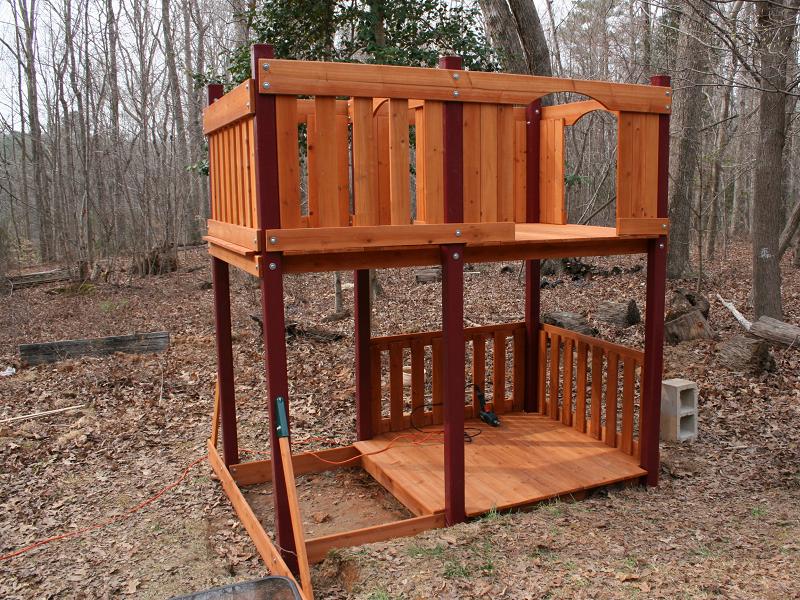
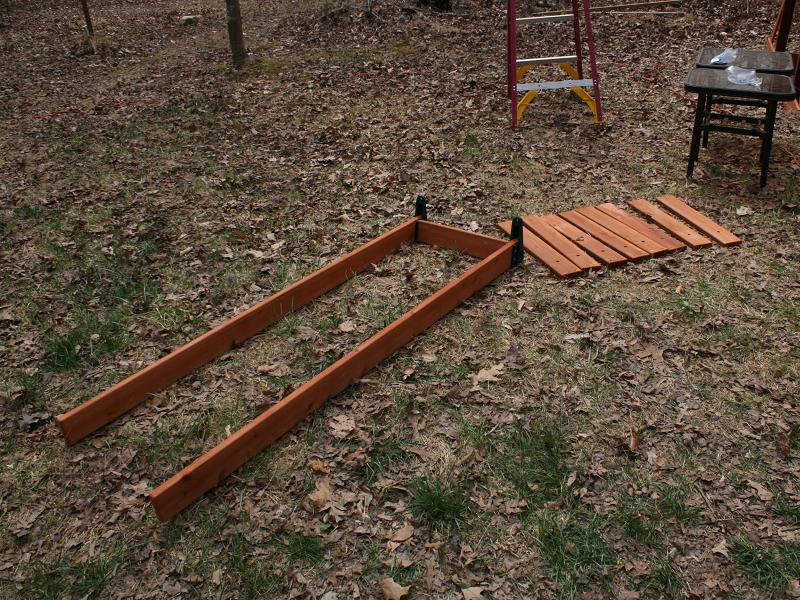
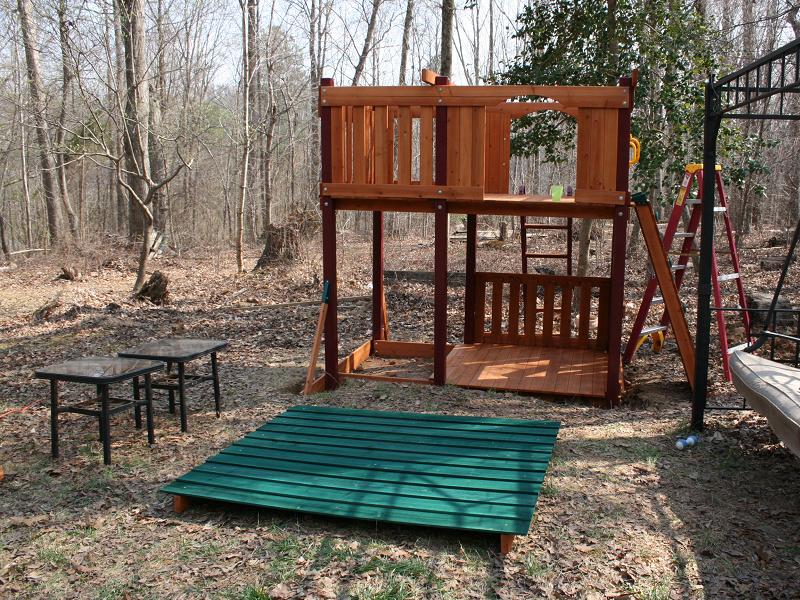
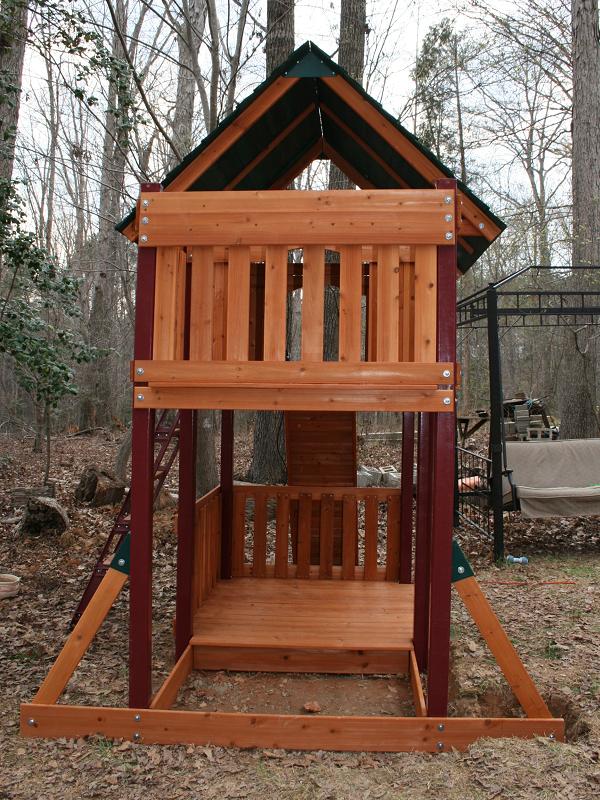
On Sunday, March 18th we got a fairly early start, and although only a few degrees warmer, at least it was sunny, and the wind wasn't quite as stiff. The hardest part was picking out the location to put the playset and then digging down to ensure the structure would be level and square. (The instructions mentioned "level and square" in practically every step for the first several phases). In Phase 2 we put the front and back of the structure together and leveled and squared it up. For Phase 3 we had to dig out a little more and add a stabilizing beam on one end of the structure. Phase 4 began the fun part - we added the floor for the entire second level. At this point our huge pile of lumber was finally beginning to have a dent in it, and our structure was finally becoming more stable, and mildly resemble the playset in the picture. Phase 5 was fairly simple - just adding a few support bars in some places in order to put up the sides for the upper level. Phase 6 was very exciting - we added all the walls for the upper level. This was tricky because I had to get up on top and I wasn't sure it would hold my weight - but it did! Phase 7 was very simple - just adding a support on the ground on which the lower deck would sit. Phase 8 was another exciting one - we added the lower deck. That was all the time we had on Sunday. The rest will had to wait til the following weekend.
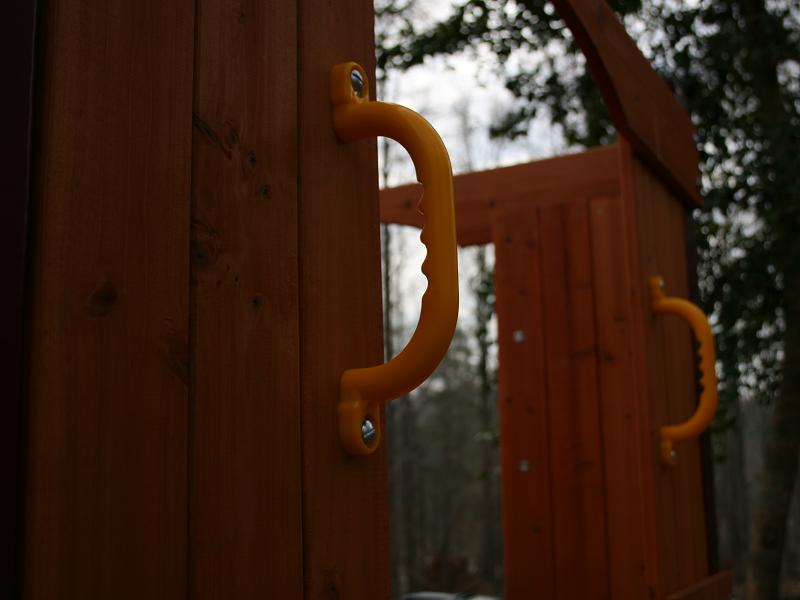
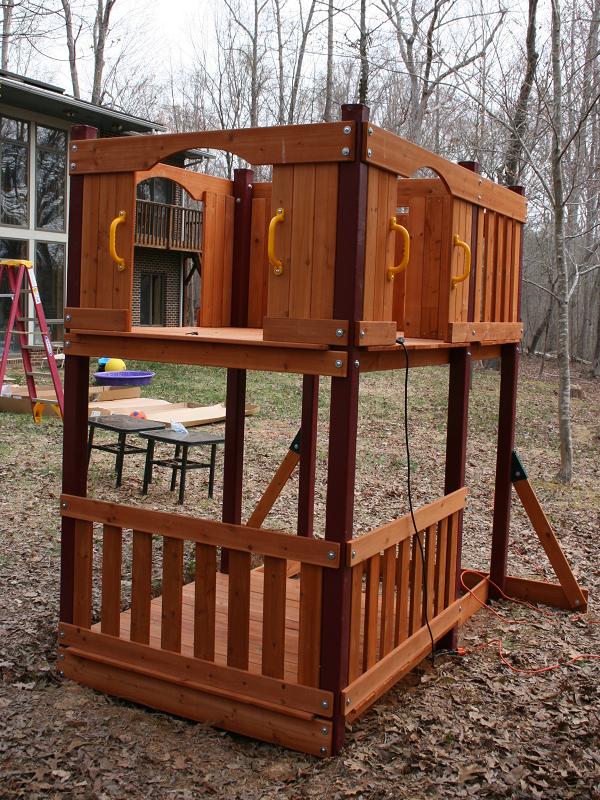
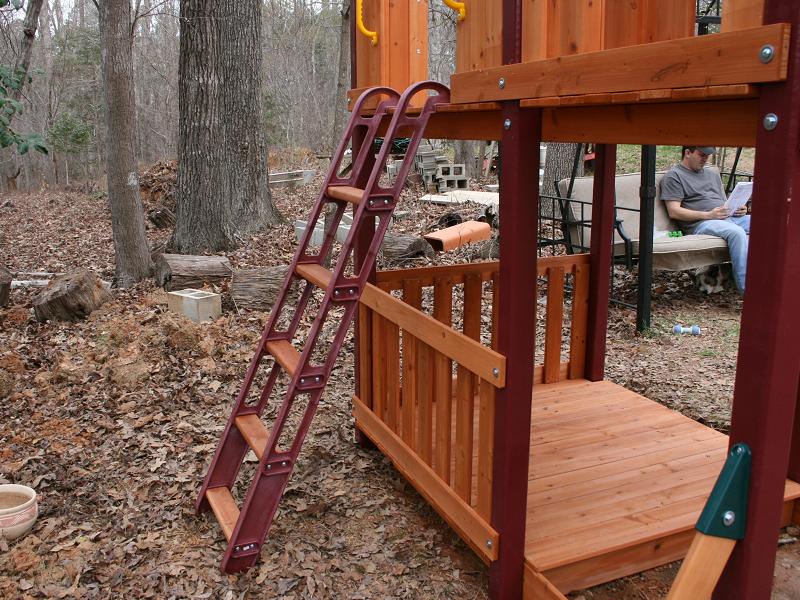
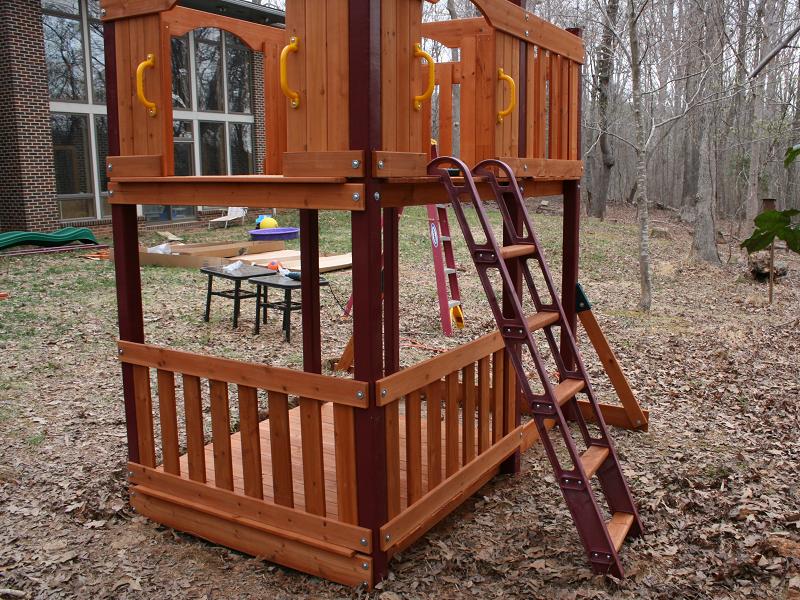
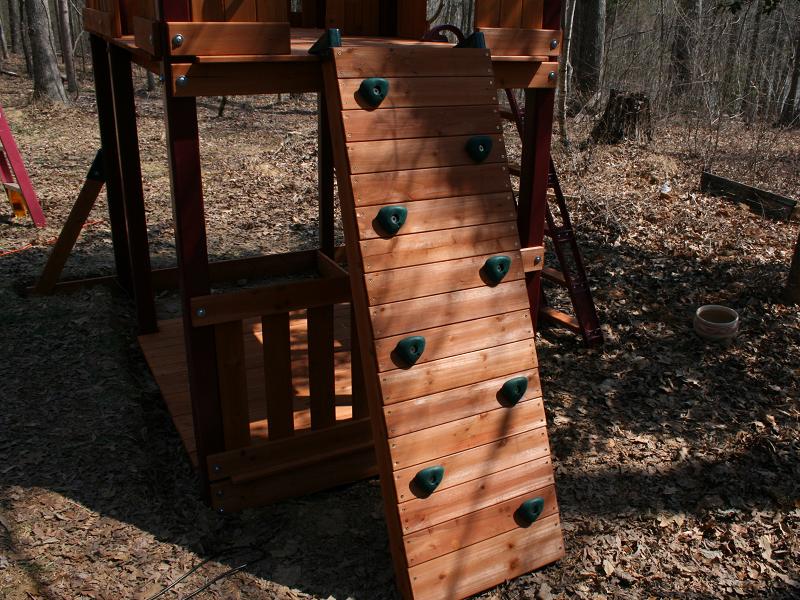
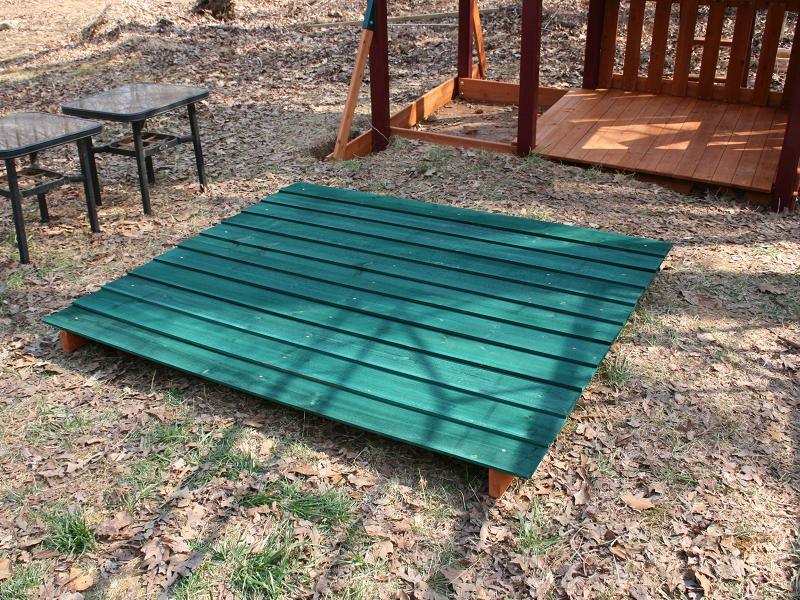
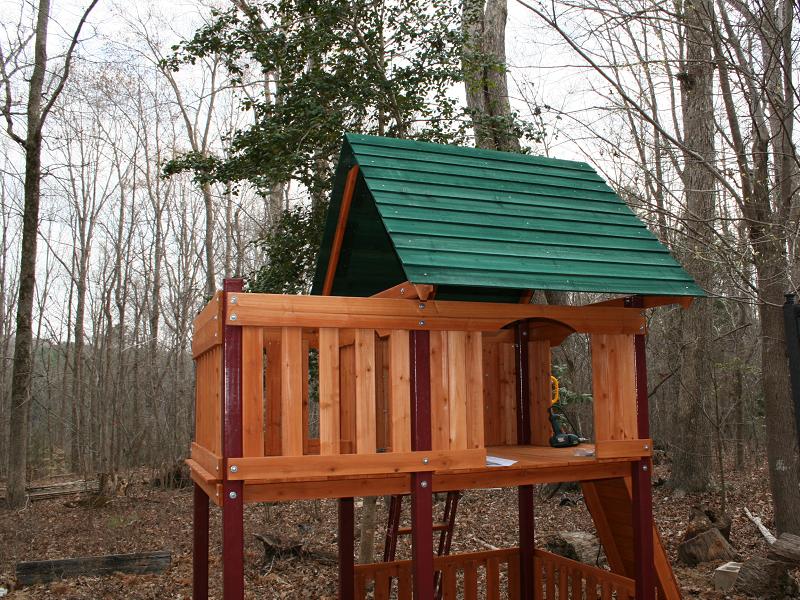
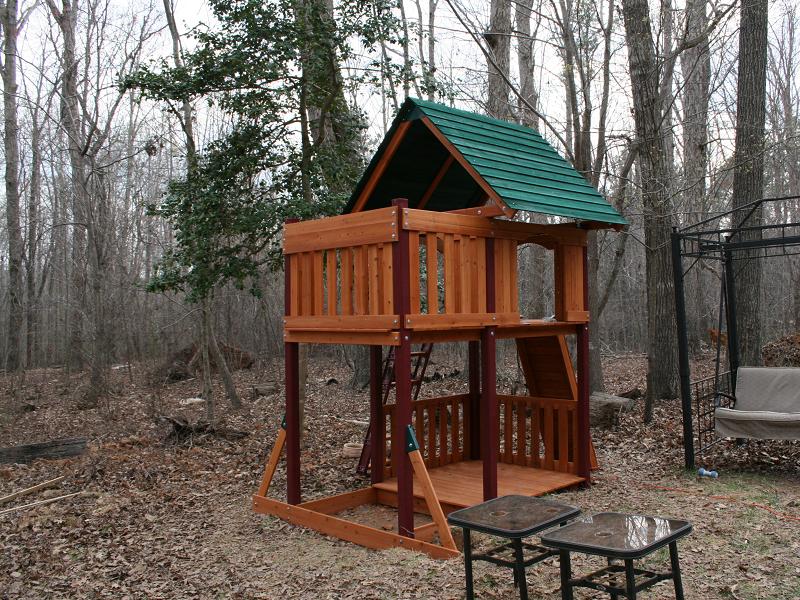
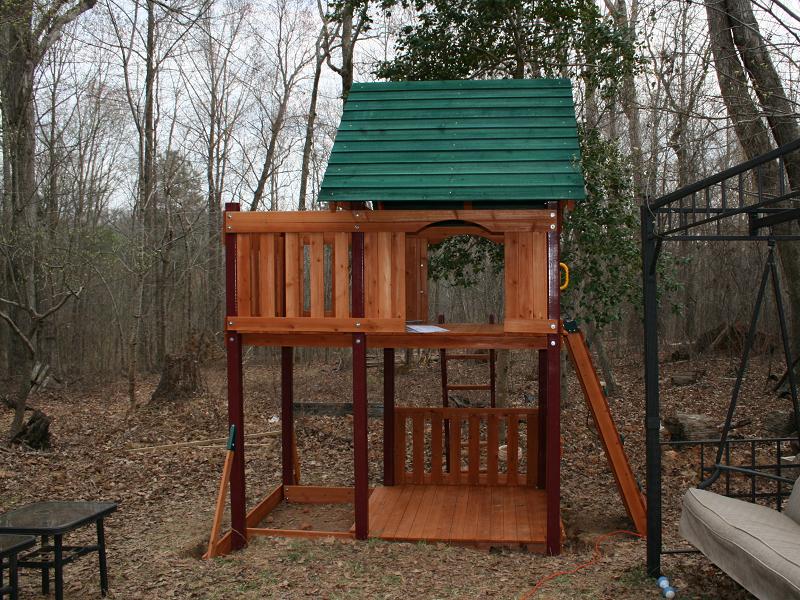
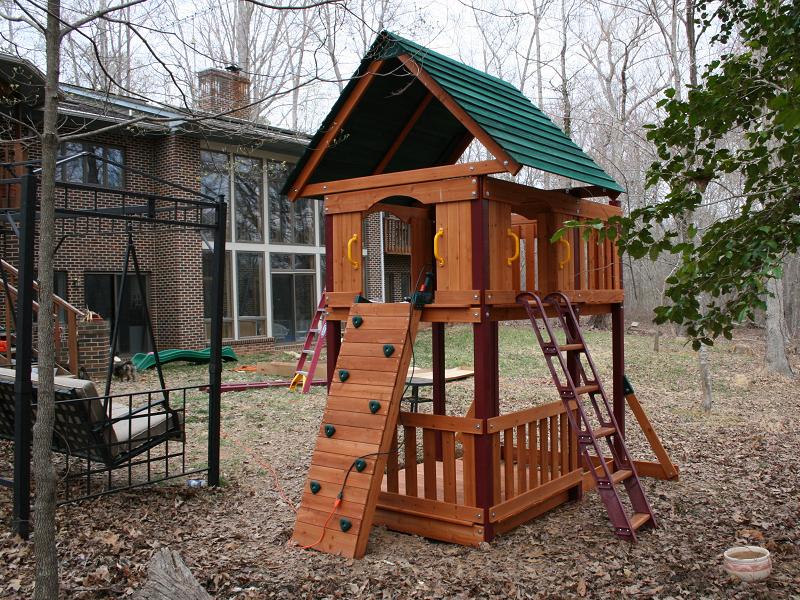
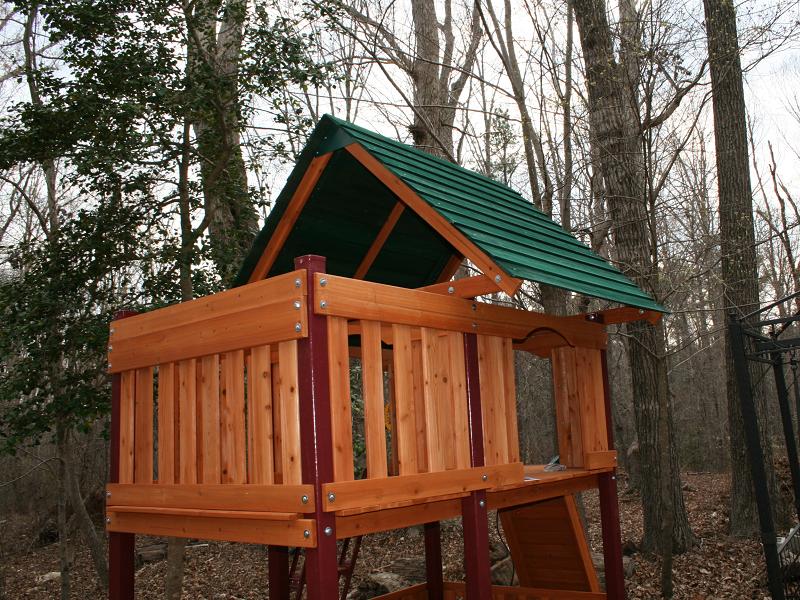
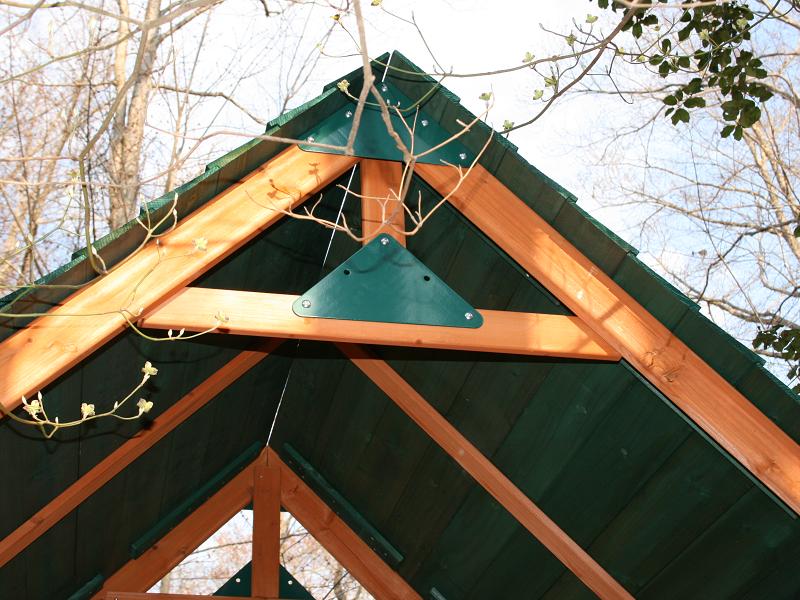
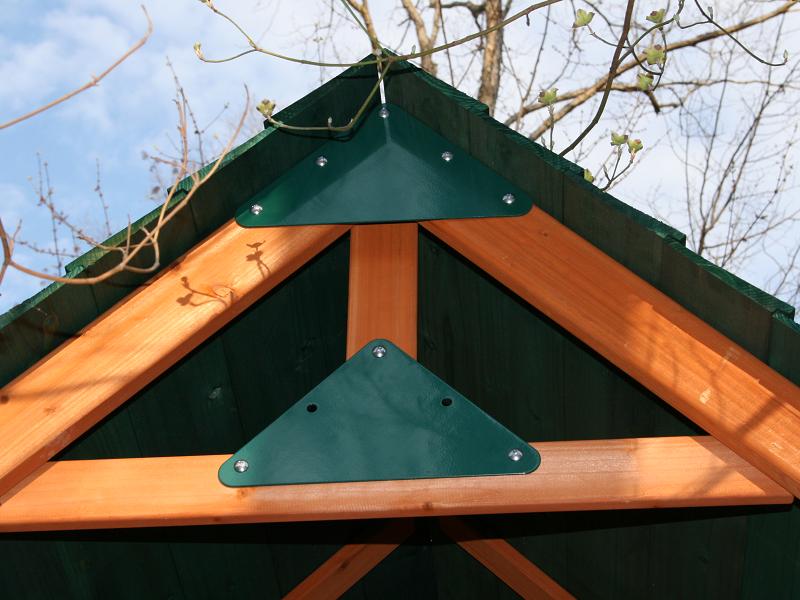
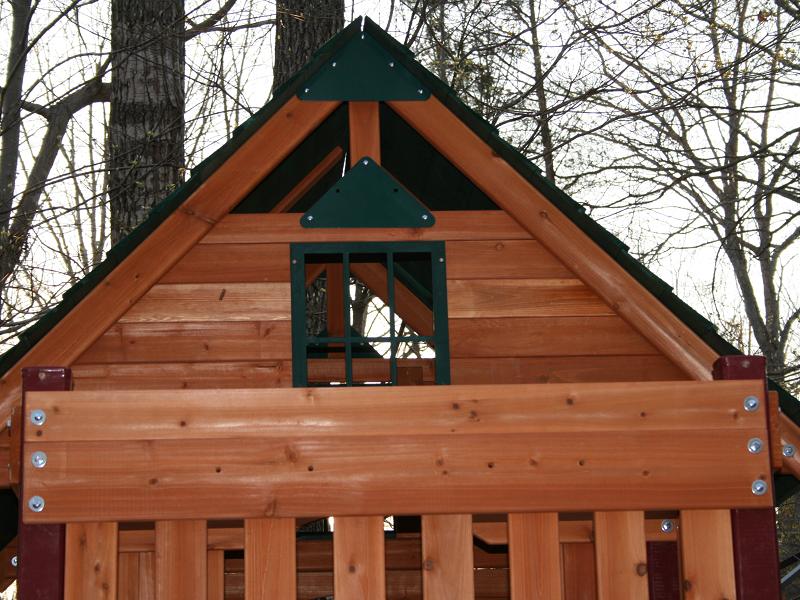
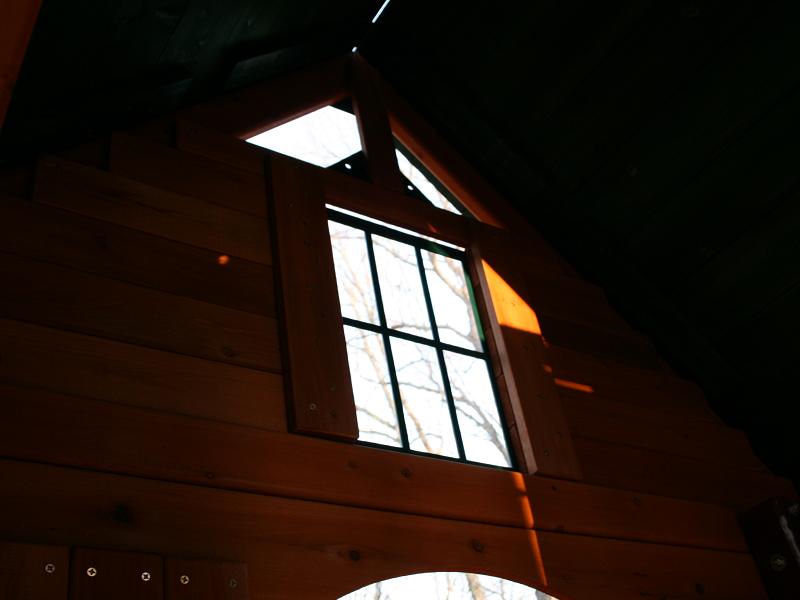
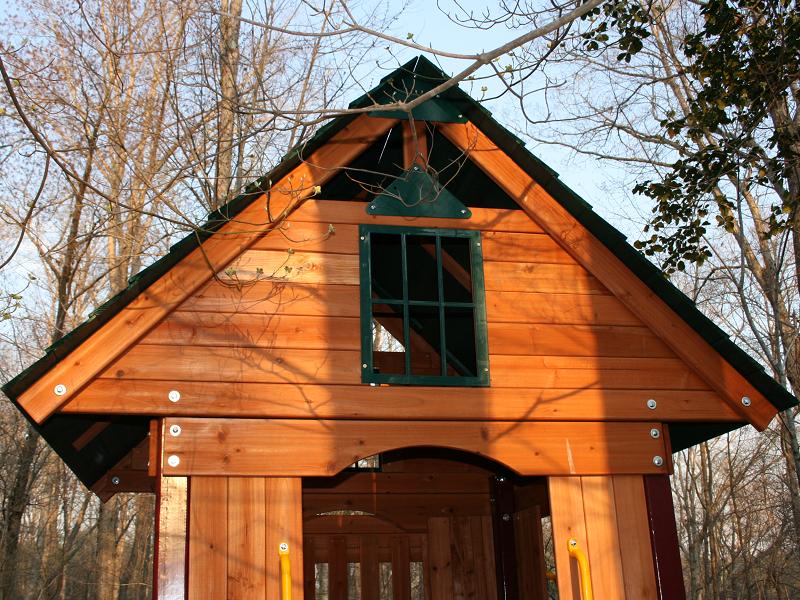
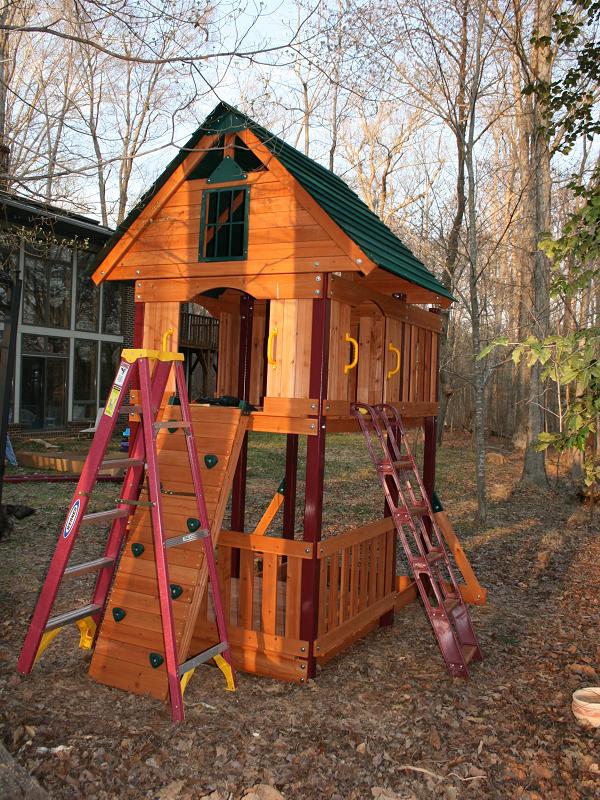
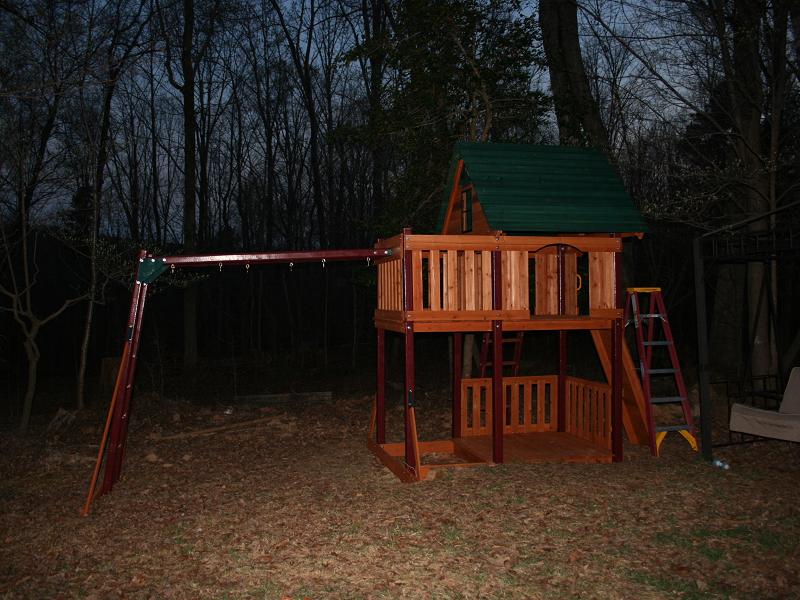
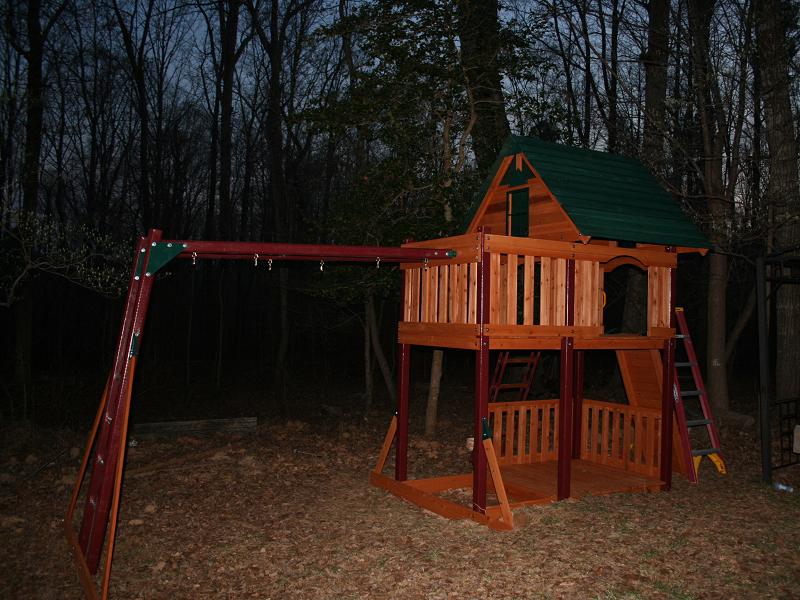
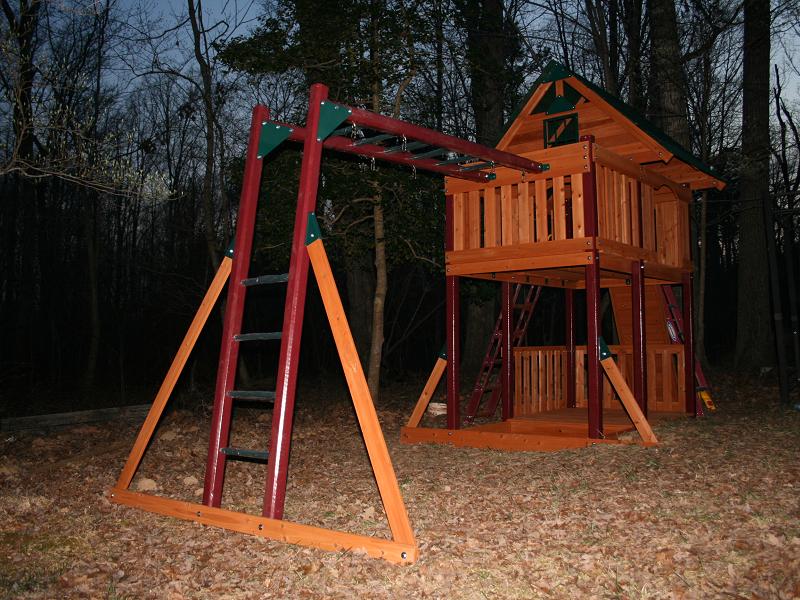
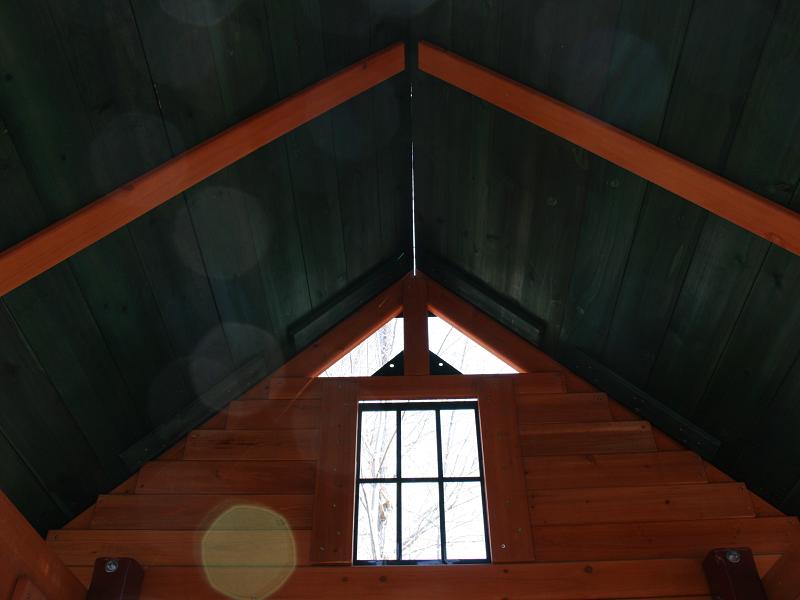
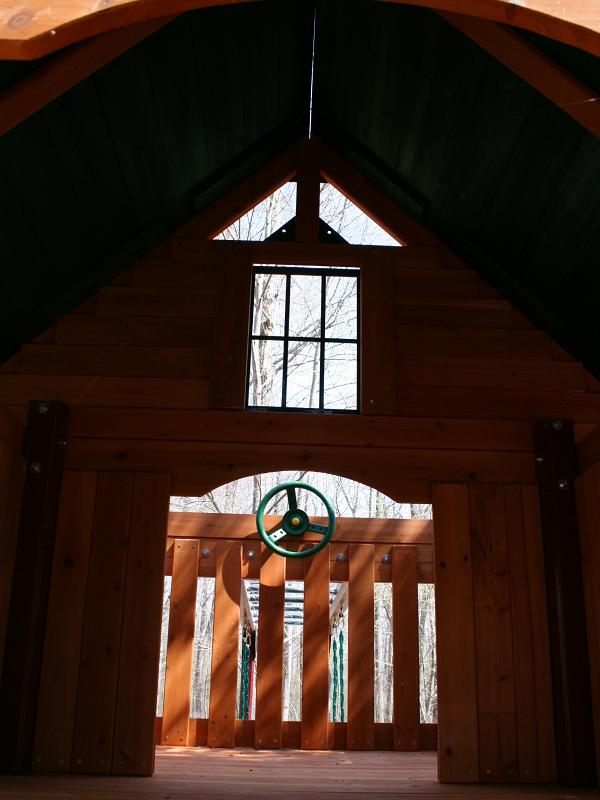
Saturday, March 24th we got a fairly early start, the weather was fantastic, and we got a lot done. Phase 9 was fun - we put the railings on the lower level deck. The design called for one on the front and one on the end, but we didn't like the idea of having to walk around to the back to "get in" so we moved it to the back instead. Phase 10 was a fairly easy one, but time consuming. We installed 4 handles - the ones for the ladder and the rock wall. Phase 11 was very simple - just putting together the ladder. In Phase 12 we actually attached the ladder to the structure. Phase 13 was another fun one - putting together the rock wall. The little plastic "rocks" look neat. In Phase 14, we attached the rock wall to the structure. Phase 15 began the series of phases encompassing putting together the roof, attaching it, and building the walls (with windows). The next few phases were definitely the most difficult ones so far. They took most of the day, but it was exciting when they were complete! After the roof was done we took a nice break!! Then we started on the monkey bars. Phase 19 was just putting some brackets and hooks on the monkey bars. Phase 20 put the monkey bars together with the ladder on the end. Phase 21 attached a couple support boards to the ladder. And finally Phase 22 attached the monkey bars to the actual structure. It was getting late in the day by the time we were working on the monkey bars so I didn't take many pictures of the process, and as you can see from the pictures I did take, it was getting a little dark by the time we finished all that. We almost finished that day, but we just ran out of light.
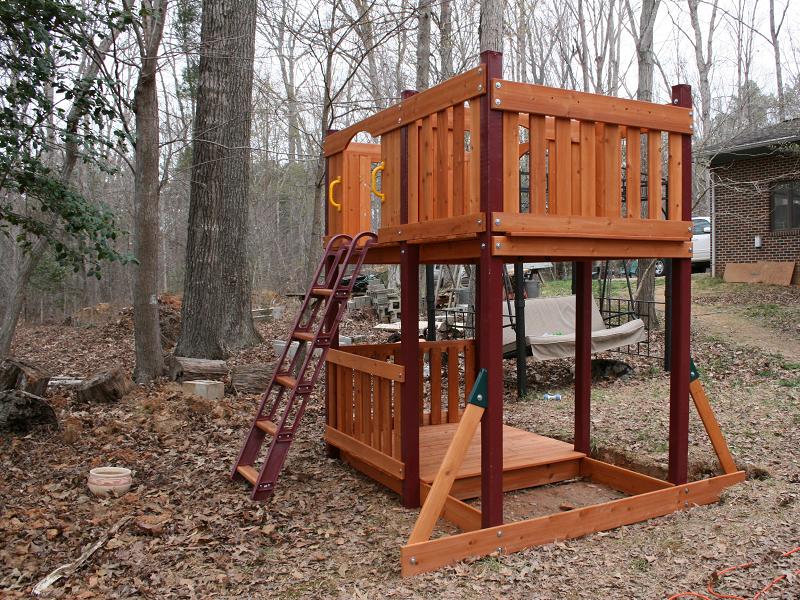
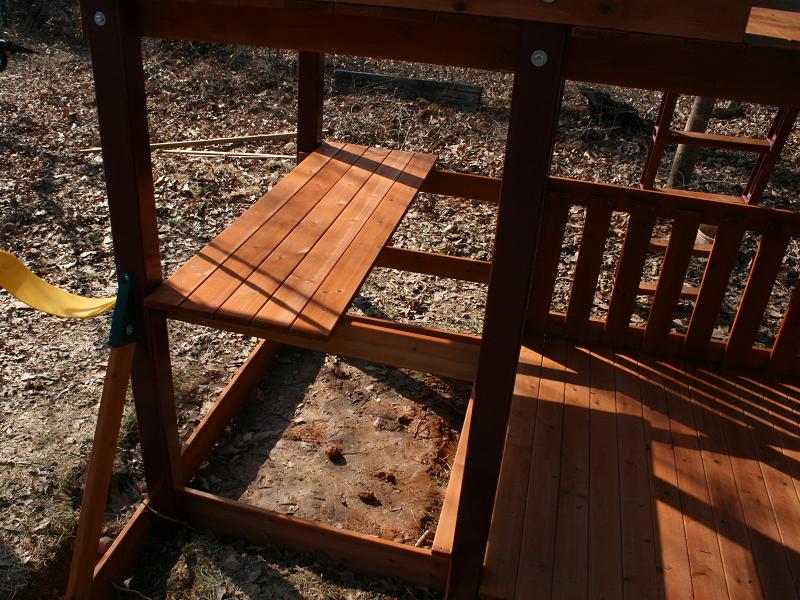
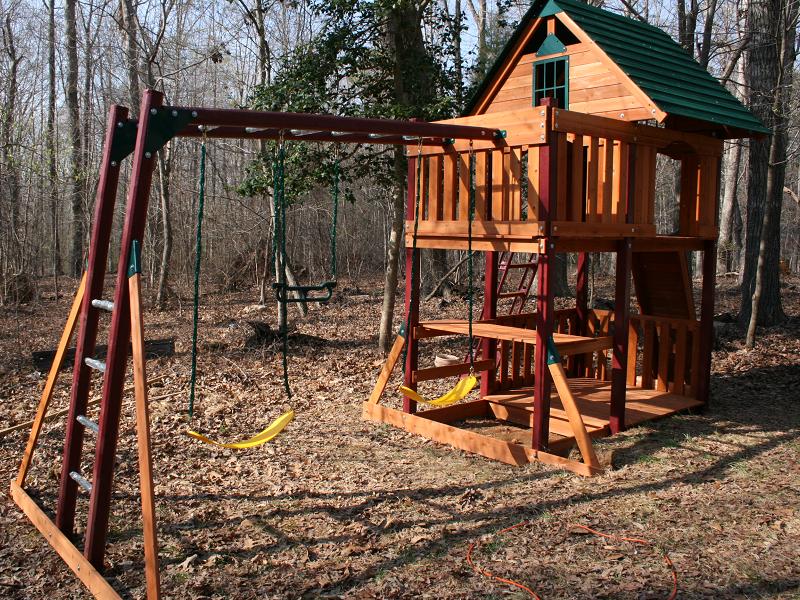
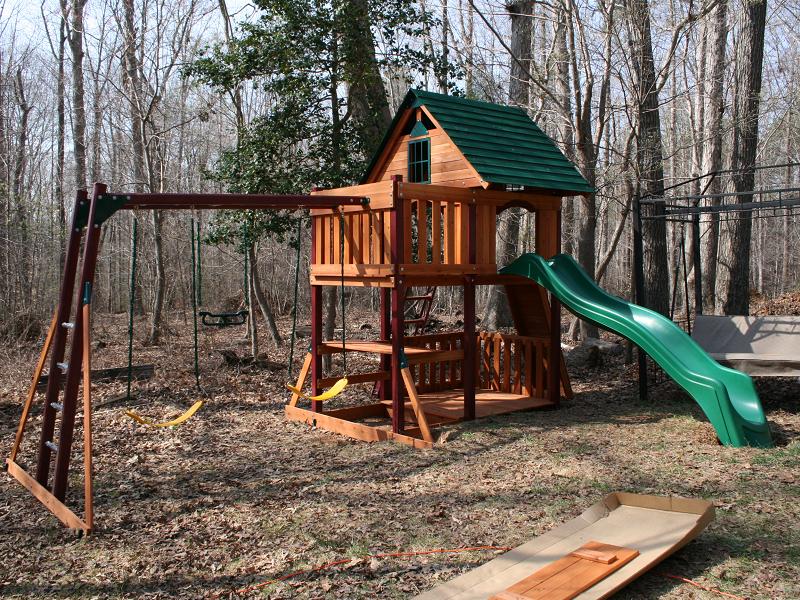
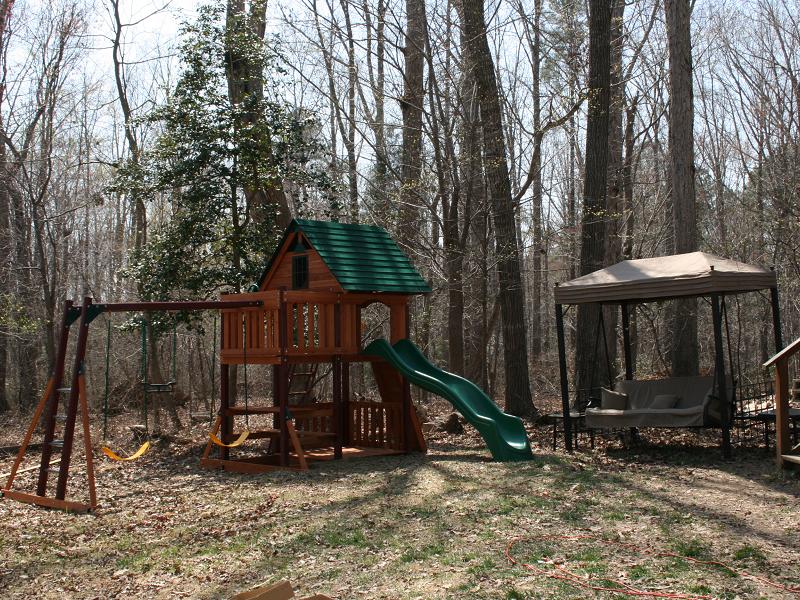
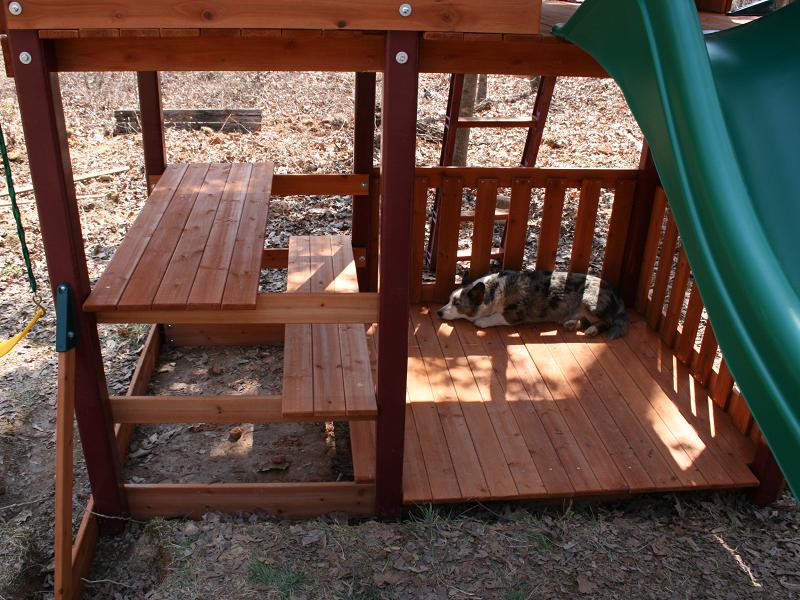
Sunday, March 25th we started early again. We started by hanging the swings (Phase 23) and putting the picnic table in the bottom section (Phase 24). Then we attached the slide (Phase 25). Phase 26 was simply to put some stakes in the ground and screw them to the frame for added support. And then we were DONE!!! Eventually we plan on digging out a perimeter around the play set and put a border and fill in with sand. But that will have to wait for another day.